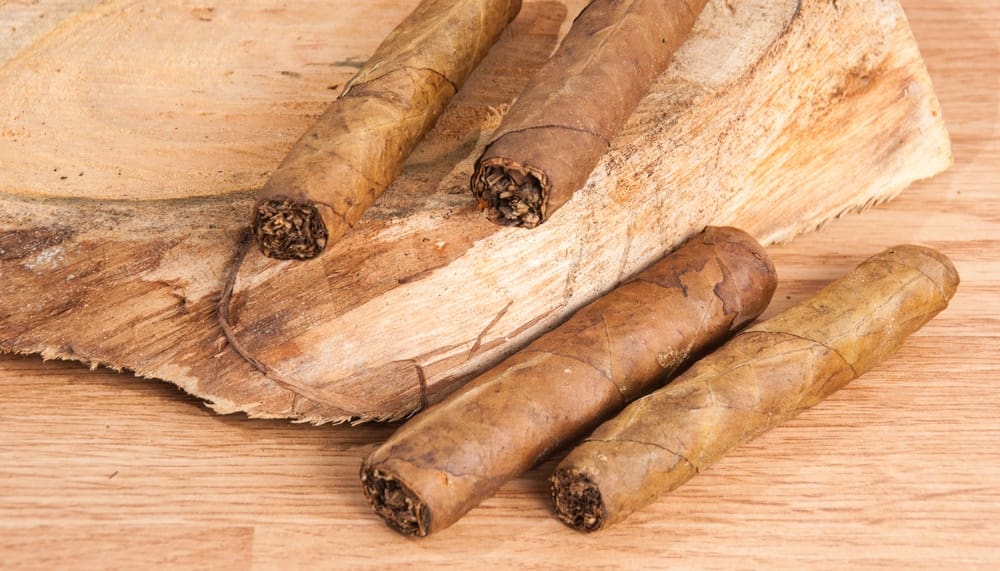


Several months ago, I had an experience smoking some Taboo cigars that we ashed into a rather ingenious tin can ashtray. Ok, it wasn’t that ingenious but it was functional and added a bit to the smoking experience. I’m sure almost every cigar smoker has some similar stories of improvised ashing, especially in the early days of discovering cigars. Ashtrays can become like characters of the smoking experience as much as humidors, lighters, and cutters. We become attached to them and they are anchors for memories of good smokes. If you are looking to purchase an ashtray, the market is filled with glamorous and expensive trays that reflect the cigars’ place among the finer things in life. My desire was for an ashtray that more accurately reflected how I feel about smoking cigars, something that is a real-life experience and has feel and emotions attached to it. So I set about making one of my own. I armed myself with the following materials, mostly from the garbage heap at a neighboring construction site.
A few scrap 2x4s
A small piece of 3/4″ plywood
A dowel rod
A bag of concrete (purchased for $6)
Hand saw, sandpaper, white glue, screwdriver, and some screws
Paint (purchased for $4)
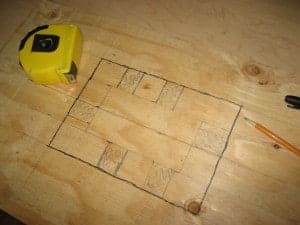

I wanted a tray that could be shared by several people enjoying cigars together, so I started by cutting the dowel into half sections about an inch long and split lengthways – these would serve in the concrete mold as the future resting place for the cigars themselves. Using a sharpie I outlined the shape of the ashtray relative to the dowel sections I had cut and one of the smaller scraps of wood. The center square piece of wood would be where the ash would collect.
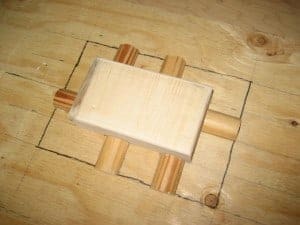

To hold the concrete, I grabbed some of the 2×4 pieces and cut them to surround the circumference of the dowels and center block. These I also screwed to the plywood and then in turn to each other. I now had a workable mold.
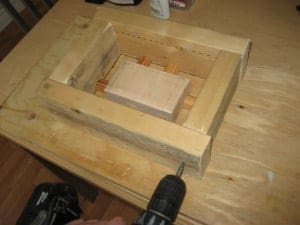

The fun part of all of this is the concrete pouring. I used an old large metal bowl and scooped some concrete, then some water together until the mix was a slurry that was not runny but was still liquid enough to be poured. In it went to the mold. The biggest concern here is to get the concrete into all the nooks and crannies of the mold, which I accomplished by using a small wooden stick and shaking the mold repeatedly. After cleaning out the bowl, I set the mold aside for 48 hours for the concrete to set. Getting this little block out of its home was no small feat. After removing the sides with the screwdriver and hammer the ashtray would not budge from where it sat over the centerpiece. I turned the plywood upside down and tapped the bottom with a hammer until it came free. This was nerve-wracking as a crack was forming during this process which threatened to break the entire piece.
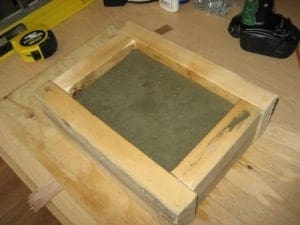

The block was rougher looking than I had hoped. I bought some spray paint that had a bit of viscosity to it, enough to fill in some of the smaller holes and cracks in the ashtray. Several coats later I cut some small feet out of a leftover dowel and I ended up with this little beauty.
My impressions after using the ashtray are that it is a little unrefined, but perfectly functional. The next step is to reuse the mold to make a better one, hopefully by tapering the sides to reduce bulk and using wires in the concrete to prevent cracks from forming. Good luck making your own!


